
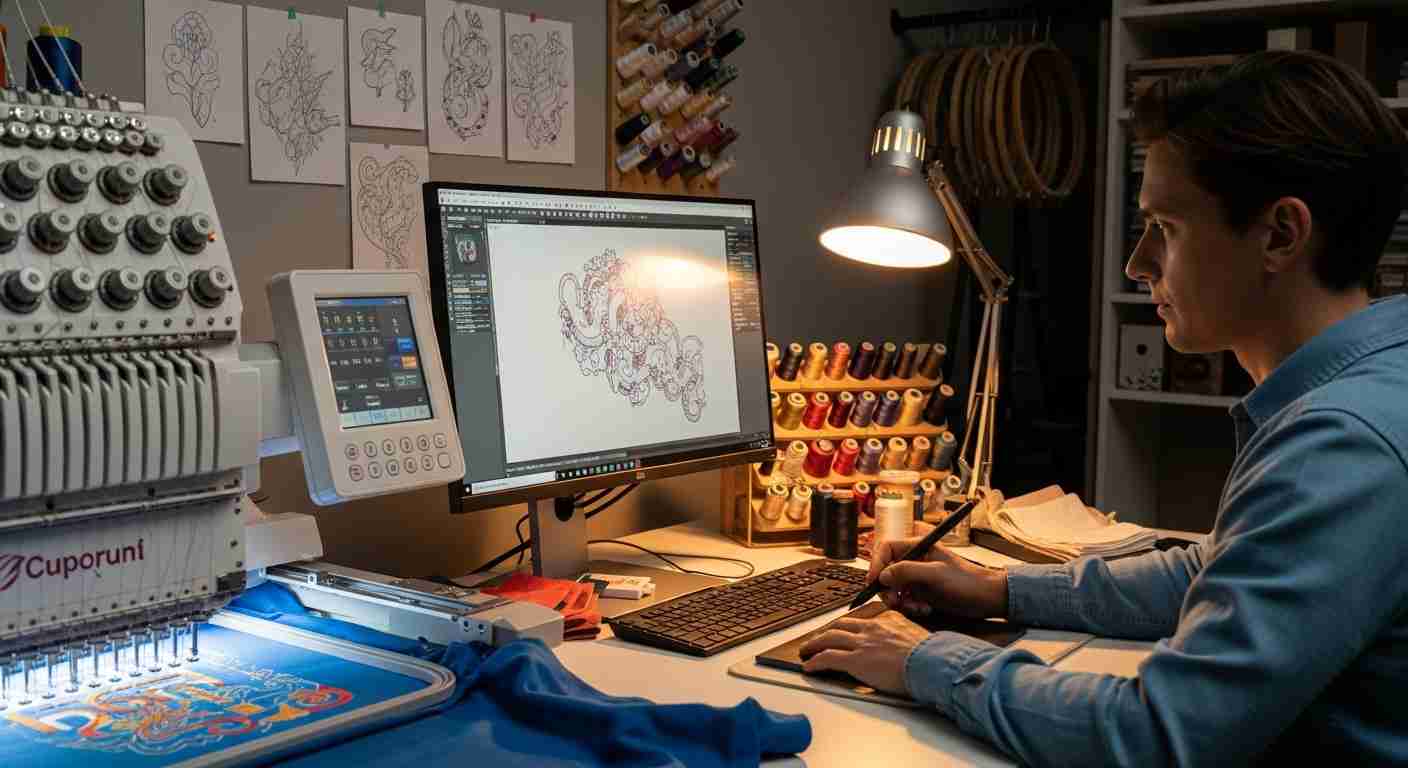
A thin line can disappear. Small letters can close up. A gradient that looks smooth on a screen may become a flat block of color once it is stitched. Even the same logo can require a different embroidery file when it moves from a polo shirt to a curved cap.
That is why logo digitizing services are an important part of Logo Into Professional Embroidery.
Logo digitizing is not simply converting a JPG or PNG into a DST file. It is the process of rebuilding artwork as stitches so an embroidery machine knows exactly where to needle, how each element should be constructed, which direction the stitches should run, and how the design should behave on the chosen fabric.
A good file is designed for the real world.
And that means the final goal is not just a nice computer preview. It is a clean, readable, consistent sew-out.
What Is Logo Digitizing?
Logo digitizing is the process of converting a business logo or other artwork into a machine-readable embroidery file.
The original logo might be supplied as a:
- JPG
- PNG
- AI
- EPS
- SVG
- Photograph of printed artwork
- Image of an existing embroidered logo
But none of these files tells an embroidery machine how to sew the design.
The digitizer has to make those decisions.
For example:
- Which areas should use satin stitches?
- Which areas need a fill stitch?
- Where should the underlay go?
- What stitch direction will work best?
- How much density is appropriate?
- Should a thin line be thickened?
- Can the small text remain readable?
- Which colors actually need to be embroidered?
- What should be stitched first and what should be stitched last?
Those choices turn artwork into a production file. Elite Embroidery Digitizing describes its process as manually mapping each object for the intended size and material, including stitch type, angle, underlay, density, and sequence.
Why Can’t You Just Trace a Logo?
This is one of the most common misunderstandings about embroidery.
A logo created for print was not necessarily designed for thread.
Think about a thin black line on a business card. It can be extremely fine because ink can reproduce it easily. Try to reproduce that same hairline with thread at a small size, and the result may be completely different.
The line might disappear.
Or it may become too heavy.
The same problem occurs with small letters, narrow gaps, gradients, shadows, and tiny internal details.
A professional digitizer therefore interprets the logo for embroidery instead of blindly tracing it.
That can mean:
- Increasing the thickness of a thin element
- Simplifying a tiny detail
- Opening a small letter counter
- Removing an element that cannot survive at the finished size
- Changing stitch direction
- Reducing unnecessary colors
- Adjusting the design for the fabric
The logo remains recognizable, but it is rebuilt in a way that thread can actually reproduce.
What Makes Professional Logo Digitizing Different?
The quality of a digitized logo often comes down to decisions that are invisible in the final artwork.
The customer sees a logo.
The digitizer sees dozens of construction problems that need to be solved before the machine starts.
1. Line Weight
Thin lines are especially difficult.
A printed hairline may not have enough width to form a stable embroidered element. Depending on its purpose, it may need to be thickened, changed into a run stitch, or removed.
The important question is not:
“Does this line exist in the original logo?”
It is:
“Will this line still exist after it has been stitched?”
2. Negative Space
The empty areas inside letters and shapes are not really empty once you start embroidering.
Take the letters A, B, D, O, P, and R.
They contain small open areas called counters.
If those spaces are too small, thread can fill them.
The result?
A letter that was perfectly readable in print may become a blob in embroidery.
Professional custom logo digitizing protects these spaces and adjusts the construction where necessary.
3. Stitch Direction
Thread has direction.
That matters more than many people realize.
Changing the direction of stitches can influence the way light reflects from an embroidered surface. It can also help separate neighboring shapes and create a cleaner visual result.
A digitizer may therefore change stitch angles between different parts of the same logo.
The artwork stays the same.
The stitch construction changes.
4. Stitch Density
More stitches do not automatically mean better embroidery.
Too little density can make a design look weak or allow the fabric to show through.
Too much density can create unnecessary bulk, stiffness, thread breaks, or puckering.
The right balance depends on factors such as:
- Fabric
- Design size
- Stitch type
- Thread
- Underlay
- Placement
- Machine setup
This is one reason Logo Into Professional Embroidery should be designed for a specific application rather than treated as a one-click conversion.
Small Text Is One of the Biggest Challenges
A logo can look fantastic until you see the tiny tagline underneath it.
This is where many embroidery designs run into trouble.
Small lettering has limited room for each stitch. As the text gets smaller, the columns forming the characters become narrow. Counters can close. Fine serifs can disappear.
A practical guideline for satin lettering is around 5 mm of cap height, although the actual workable size depends on the typeface, fabric, thread, stitch construction, and other factors. Very fine serif details may not work as satin at all.
So what can a digitizer do?
Depending on the logo, the solution may be to:
- Make the lettering slightly heavier
- Increase spacing
- Simplify the type
- Change the stitch method
- Use a fine run stitch
- Remove an unreadable tagline
This is not damaging the logo.
It is adapting the logo to the physical limits of embroidery.
What Happens to Gradients in Embroidery?
Digital artwork can contain beautiful gradients.
Thread cannot reproduce a digital gradient in exactly the same way.
Instead, the effect may be represented through:
- A single flat thread color
- Two or more thread colors
- Bands of color
- Changes in stitch direction
- A simplified tonal effect
The finished size matters.
A gradient on a large jacket-back design may have enough room to show a tonal transition. The same gradient compressed into a three-inch left-chest logo may simply become muddy.
That is why logo embroidery digitizing requires judgment.
Sometimes less detail produces a better result.
Does One Logo Need More Than One Embroidery File?
Often, yes.
This is an important point for companies ordering branded apparel.
A logo on a polo is not necessarily the same embroidery job as that logo on a cap.
Consider these applications:
Left Chest
A small left-chest logo usually needs to remain readable at a compact size. Small details may need simplification.
Cap
A cap has a curved front and seams. Stitch sequencing and registration become particularly important.
Jacket Back
A large back logo has more room for detail, but its size creates different registration and sequencing considerations.
Bags
Bags can introduce panels, seams, straps, linings, and difficult hooping conditions.
So instead of forcing one file onto every product, a professional digitizer may recommend a small collection of files.
For example:
- Left chest version
- Cap version
- Large-format version
Elite Embroidery Digitizing specifically notes that a left-chest logo and a structured-cap version can require different stitch order, underlay, or sizing.
That is not unnecessary duplication.
It is production planning.
Logo Digitizing for Different Fabrics
The fabric matters.
A lot.
A stable woven fabric behaves differently from fleece or terry. Knit materials can move differently under the needle. A cap front has its own challenges because of its curved construction.
Common applications include:
- Polo shirts
- Workwear
- Uniforms
- Caps
- Bags
- Promotional merchandise
- Jackets
The same logo may therefore need different settings depending on where it will be embroidered.
This is why you should tell your digitizer the fabric, product, finished size, and placement before the file is created.
Those details can directly affect the construction of the design.
What File Formats Are Available?
Different embroidery machines use different file formats.
Common formats include:
- DST – commonly used with commercial machines such as Tajima
- PES – commonly associated with Brother and Baby Lock
- EXP – used with Melco and Bernina systems
- JEF – used with Janome
- VP3 – used with Husqvarna Viking and Pfaff
- XXX – used with Singer
- HUS – associated with Husqvarna
- EMB – Wilcom native source format
The correct format depends on your machine.
A good practice is to provide the machine name or the format your operator normally uses when requesting logo digitizing services. Elite Embroidery Digitizing lists these formats and notes that other formats can be supplied on request.
Can a PNG or JPG Logo Be Digitized?
Yes.
You do not necessarily need a vector logo.
Clear JPG, PNG, PDF, AI, EPS, and SVG artwork can all be reviewed. Even a clear photograph of printed artwork or an existing sew-out may provide enough information to start.
However, there is a difference between usable artwork and easy-to-use artwork.
A clean vector file gives the digitizer crisp edges.
A tiny logo downloaded from a website may contain only a few hundred pixels. The shape can still potentially be rebuilt, but more interpretation may be required.
If the artwork is genuinely unusable, a professional provider should tell you before the job begins.
That saves time.
And money.
The Logo Digitizing Process: Step by Step
A reliable workflow should begin before anyone starts placing stitches.
Step 1: Submit the Artwork
Send the best version of your logo.
Vector is ideal, but it is not mandatory.
Step 2: Provide the Production Details
Tell the digitizer:
- Finished width
- Finished height
- Garment or product
- Fabric
- Placement
- Thread colors
- Machine format
The more specific you are here, the fewer revisions are likely to be needed later.
Step 3: Manual Stitch Construction
The digitizer builds the design object by object.
This is where decisions are made about:
- Stitch type
- Stitch angle
- Underlay
- Density
- Sequence
- Registration
- Small details
Step 4: Quality Check
The completed file is reviewed for construction, pathing, color order, and stop instructions.
Step 5: Machine-Ready Delivery
The final file is delivered in the confirmed format along with useful production information such as a stitch preview and color sequence.
Why a Sew-Out Matters
A stitch simulation on a computer screen can be helpful.
But it is not the same as real embroidery.
A sew-out shows what actually happens when thread meets fabric.
It can reveal:
- Puckering
- Poor registration
- Weak details
- Closed lettering
- Excessive density
- Unexpected gaps
- Problems caused by the fabric
This is especially valuable when a logo will be produced repeatedly.
If you are ordering hundreds of uniforms, for example, you do not want to discover a construction problem halfway through production.
The physical result matters.
How to Prepare Your Logo Before Sending It
You can make the digitizing process easier by providing a few details upfront.
Before requesting a quote, prepare:
1. Your logo artwork
Send the highest-quality version available.
2. Finished size
Do not simply say “small logo.” Give the approximate width and height.
3. Placement
For example:
- Left chest
- Cap front
- Sleeve
- Jacket back
- Bag panel
4. Product and fabric
A polo, cap, jacket, and bag are different applications.
5. Machine format
Tell the provider whether you need DST, PES, JEF, or another format.
6. Deadline
If the order is urgent, say so before production begins.
These six details give the digitizer a much clearer picture of the job.
How Much Does Logo Digitizing Cost?
The price of logo digitizing services depends on the design rather than simply the number of stitches.
Factors that can affect the cost include:
- Finished size
- Number of colors
- Number of objects
- Small lettering
- Fine details
- Fabric
- Placement
- Special techniques
- Complexity
- Turnaround time
Elite Embroidery Digitizing currently lists pricing starting at $30 for a left-chest or cap-sized logo, with mid-size designs listed at $30–$60 and complex or large-format work at $45–$200. Vector artwork conversion is listed separately from $15.
A useful quote should be based on the actual design requirements.
The cheapest file is not always the cheapest production option.
If a poorly built file causes thread breaks, wasted garments, or repeated machine adjustments, the original saving can disappear quickly.
What Should You Look for in a Logo Digitizing Company?
Choosing a digitizer is not only about price.
Ask practical questions.
Does the provider manually digitize?
Manual construction gives the digitizer control over stitch direction, density, sequencing, and detail.
Can they work with your fabric?
A good provider should want to know what you are actually embroidering.
Do they understand small lettering?
This is particularly important for company logos with taglines or fine text.
Can they supply your machine format?
Confirm the format before ordering.
Can they handle different placements?
If you need the same logo for polos, caps, and jackets, ask whether separate builds are recommended.
Do they show real sew-outs?
A software preview is useful. Real embroidered samples are even more informative.
What happens if the file needs revision?
Understand what is included before the work begins.
Do you own the finished file?
Know the provider’s ownership and reuse terms.
These questions can help you compare services based on production quality rather than just turnaround time.
Why Professional Logo Digitizing Is Worth It
A company logo represents a brand.
It appears on uniforms. It sits on caps. It may be stitched onto jackets worn by employees or bags carried by customers.
That means consistency matters.
A professionally digitized logo should not merely resemble the original artwork. It should be built to survive the embroidery process.
Thin details need to hold.
Letters need to remain readable.
Colors need to be sensible.
Stitching needs to flow.
And the file needs to work with the intended product.
That is the real difference between simply converting artwork and creating a production-ready embroidery file.
Final Thoughts
A logo was probably designed first for a screen or printed page.
Embroidery is another language.
The job of a skilled digitizer is to translate between the two.
Sometimes that means preserving almost every detail. Sometimes it means making a difficult choice: thicken a line, simplify a shape, remove a tiny tagline, reduce the colors, or build a second version for a cap.
Those decisions are not flaws.
They are what make the logo work in thread.
If you need custom logo digitizing, start with the artwork, then provide the finished size, placement, fabric, and machine format. Those details give the digitizer the information needed to create a file for the actual production job rather than a generic conversion.
And before approving a large order, whenever possible, look at the real sew-out.
The screen shows you the plan.
The fabric shows you the result.
Frequently Asked Questions About Logo Digitizing
1. What is logo digitizing?
Logo digitizing is the process of converting a logo into a machine-readable embroidery file. The digitizer decides the stitch types, directions, density, underlay, sequence, color stops, and other details required for the embroidery machine.
2. Is logo digitizing the same as converting JPG to DST?
No. JPG to DST conversion is not simply changing one file extension to another. The artwork must be interpreted and rebuilt into actual embroidery stitches.
3. Do I need a vector logo for embroidery?
No. Vector artwork is helpful but not required. A clear PNG, JPG, PDF, AI, EPS, SVG, or even a clear photograph can potentially be used as source artwork.
4. Can you digitize a logo with small text?
Yes, but very small lettering has physical limitations. A practical guideline for satin lettering is around 5 mm cap height, although the actual result depends on the font, stroke weight, fabric, thread, and stitch construction.
5. Can the embroidered logo look exactly like my original logo?
Not always. Thread cannot reproduce every printed detail, particularly hairlines and digital gradients. A good digitizer preserves the important brand elements while adapting details that will not survive at the finished size.