Adding a basketball hoop to your home is one of the most practical ways to encourage active play, improve your game, and bring people together. But if you’re aiming for something solid and long-lasting, Inground basketball goals are the best option. They look cleaner, play truer, and hold up better than portable hoops. Installing one may sound intimidating at first, but it’s not as difficult as you might think, especially if you break it down step-by-step.
Why Choose Inground Basketball Goals?
Before we get into the installation process, let’s look at why so many people prefer inground basketball goals in the first place.
- Stability and Performance
- Unlike portable hoops that can wobble, inground systems are buried deep and anchored in concrete. That means they stay steady, even during aggressive play, dunk attempts, or windy weather.
- Clean, Professional Look
- An inground hoop gives your driveway or backyard court a much neater appearance. No sand or water-filled bases to trip over or move around.
- Long-Term Investment
- While installation takes more time, these systems are built to last. The goal doesn’t tip over, rust easily, or require frequent adjustments, especially when installed properly.
Step-by-Step Installation Process
Let’s break down the process into clear, manageable stages.
1. Choose the Right Location
This is the most important first step. Pick a flat, open area with plenty of clearance around the hoop. Driveways are the most common spot, but backyard courts or side yards work too. Make sure there’s enough space behind the hoop for players to shoot comfortably without running into anything. Check for overhead wires or tree branches.
2. Measure and Dig the Hole
Once you’ve picked your spot, it’s time to dig. A standard inground hoop typically requires a hole that’s around 2 feet wide and 3 feet deep. Refer to the instructions for the exact size. Use a post-hole digger or shovel to get through the soil. If you’re in an area with a lot of clay or roots, this part might take some effort.
3. Set the Anchor System
Most inground systems come with a steel anchor system that gets placed in the hole before pouring concrete. This allows the pole to be bolted on after the concrete sets, which is much easier than trying to level a full pole in wet cement. Place the anchor in the center of the hole. Use a level to make sure it’s perfectly straight, and double-check the orientation of the bolt pattern.
4. Mix and Pour the Concrete
Now for the muscle work. Mix your concrete in a wheelbarrow or mixer according to the bag instructions. Don’t make it too runny—thicker is better for support. Pour it into the hole slowly, making sure to eliminate air pockets as you go. Once full, smooth the top and check that the anchor bolts are still level and aligned. Let the concrete cure for at least 48 hours. Don’t try to rush this part, even if everything looks stable.
5. Assemble the Pole and Backboard
Once the concrete has fully set, you can start putting the rest of the hoop together. Depending on the model, this might include:
- Attaching pole sections together
- Bolting the pole to the anchor
- Mounting the backboard and rim
- Adjusting the height mechanism
You’ll definitely want a second set of hands here, especially for lifting the backboard into place. Take your time with alignment and tightening all bolts. Any wobbles or misalignments now will affect the way the hoop plays later on.
Pro Tips for a Long-Lasting Hoop
- Use rust-resistant paint or coating on metal parts if you’re in a humid or rainy climate.
- Install padding around the pole and backboard if younger players will be using it.
- Keep the area clean from mud, weeds, or standing water.
- Avoid hanging from the rim, especially with lighter-duty systems.
Regular maintenance goes a long way in keeping your hoop game-ready.
Mistakes to Avoid
It’s easy to rush through an install, but a few common mistakes can lead to bigger problems later:
- Skipping the level check: A tilted pole can’t be corrected once the concrete sets.
- Not letting the concrete cure: This leads to instability and cracking.
- Using too little concrete: Always follow the guidelines—don’t skimp.
- Installing near loose soil: If the area isn’t firm, it won’t hold the anchor securely.
Measure twice, pour once.
Final Words
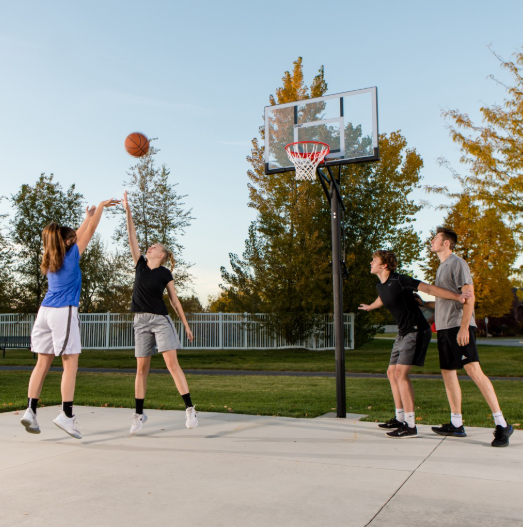
Once the hoop is in, it instantly changes the energy of your home space. Whether you’re shooting free throws, playing pickup games, or just hanging out with friends, having a strong, reliable hoop makes all the difference. And because inground basketball goals are designed to stay put and last, you’ll get the most out of every shot, pass, and rebound. So go ahead—lace up your sneakers, grab your ball, and enjoy the court right in your own yard. All that work pays off when you hear that perfect swish.