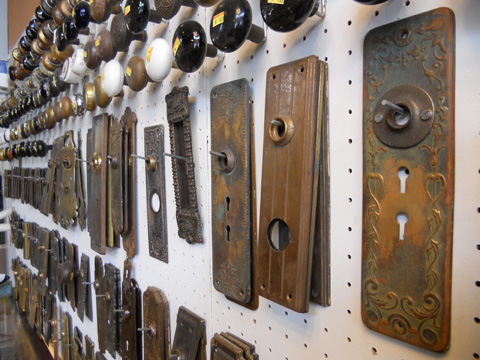
Replacing an old mortise lock can seem overwhelming, especially when trying to preserve your door’s condition. With the right tools, careful steps, and attention to detail, you can handle the replacement process with ease. This guide provides practical steps for old mortise lock replacement, helping you upgrade your lock securely while avoiding unnecessary damage to your door.
What Makes Mortise Locks Unique?
Mortise locks are widely used for their strong and durable construction. These locks are installed inside a pocket, or mortise, carved into the door’s edge, which makes them more secure than standard cylindrical locks. Replacing a mortise lock requires precise measurements and a careful approach to avoid damaging the door or its structure during the installation process.
Tools You’ll Need for the Job
Having the correct tools is essential for a smooth replacement process. For an old mortise lock replacement, you will need a flathead screwdriver, a Phillips screwdriver, a measuring tape, and possibly a chisel and mallet for adjustments. It’s also important to ensure that the new lock matches the size and design of your current mortise lock for a proper fit.
How to Remove the Old Mortise Lock?
The first step in replacing an old mortise lock is to remove the existing one carefully. Unscrew the handles or knobs on both sides of the door and detach the spindle connecting them. Next, remove the faceplate on the door’s edge by unscrewing it. Gently pull out the lock from the cavity, ensuring you don’t damage the surrounding woodwork.
Preparing the Door for the New Lock
Before installing the new lock, inspect the cavity left by the old one. Clean it thoroughly to remove debris, dust, or old paint that might interfere with the new lock’s fit. If the new lock is slightly larger or smaller than the old one, use a chisel to adjust the cavity carefully. Avoid over-carving, as it can weaken the door.
Installing the New Mortise Lock
Installing the new lock is a straightforward process when done correctly. Insert the new mortise lock into the cavity and check that it fits snugly. Align the faceplate with the door edge and secure it with screws. Reattach the spindle and the handles or knobs, ensuring they are tight. Test the lock several times to confirm it operates smoothly and locks securely.
Final Adjustments for the Strike Plate
Once the new lock is installed, adjust the strike plate on the door frame. Mark the position of the latch on the frame and carve a recess for the strike plate using a chisel. Secure the strike plate with screws and test the lock again. Ensure the latch aligns perfectly with the strike plate, allowing the door to close and lock seamlessly.
Tips for Successful Old Mortise Lock Replacement
When replacing an old mortise lock, always measure twice before making any adjustments. Use the correct tools and avoid forcing the lock into place. If you are unsure about any step, consulting a professional locksmith can save time and prevent potential damage to your door.
Conclusion
An old mortise lock replacement is a manageable task with the right preparation and care. By following these steps, you can install a new lock without damaging your door. Always prioritize accuracy and precision to protect the door’s structure. A successful replacement not only upgrades your lock but also enhances your door’s functionality and security.
