Water heater installation is a critical aspect of maintaining comfort and convenience in any home. Whether you’re replacing an old unit or installing one for the first time, understanding the process can save you time, money, and potential issues down the line. A properly installed water heater ensures consistent hot water, improved energy efficiency, and enhanced safety.
Understanding Water Heater Types
Before diving into water heater installation, it’s essential to choose the right type for your needs. The most common options include traditional tank water heaters, tankless (on-demand) systems, heat pump water heaters, and solar-powered units.
Tank water heaters store and heat a large volume of water, making them ideal for families with high water usage. Tankless systems, on the other hand, heat water only when needed, offering energy efficiency and space-saving benefits. Heat pump water heaters use electricity to move heat from the air or ground, making them highly efficient, while solar systems harness renewable energy but require a higher upfront investment.
Preparing for Installation
Proper preparation is key to a successful water heater installation. Start by assessing your household’s hot water needs, available space, and energy sources (gas or electricity). It’s also important to check local building codes and permit requirements, as improper installation can lead to fines or safety hazards.
Ensure that the installation area is clean, well-ventilated, and has adequate space for maintenance. If you’re replacing an existing unit, turn off the water supply and power source before removing the old heater.
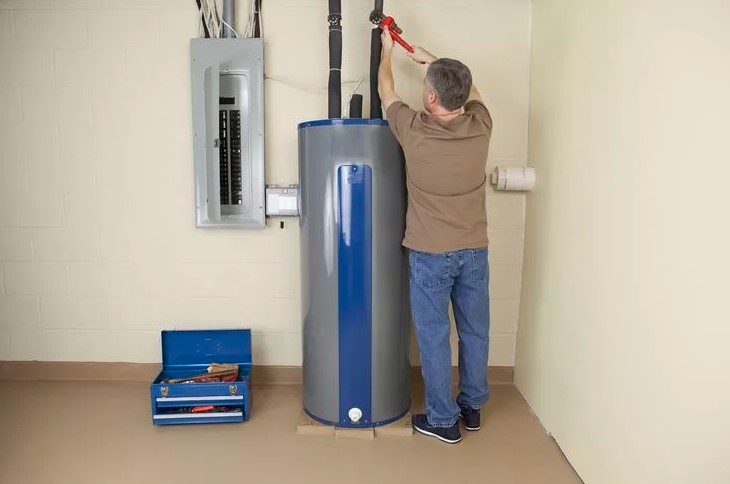
Steps in Water Heater Installation
The installation process can vary depending on the type of system, but generally includes the following steps:
- Positioning the Unit: Place the water heater in a stable, level location close to plumbing and power connections.
- Connecting Water Lines: Attach the cold water inlet and hot water outlet securely using appropriate fittings.
- Installing the Power Source: For electric heaters, connect wiring according to manufacturer guidelines. For gas heaters, connect the gas line and ensure proper ventilation.
- Setting Up the Venting System: Gas water heaters require proper venting to expel harmful gases safely.
- Filling and Testing: Fill the tank with water, check for leaks, and test the system to ensure it’s functioning correctly.
While some homeowners attempt DIY installations, hiring a licensed professional is highly recommended to ensure safety and compliance with local regulations.
Common Mistakes to Avoid
During water heater installation, several common mistakes can lead to inefficiency or hazards. Incorrect sizing is a frequent issue—choosing a unit too small can result in insufficient hot water, while an oversized unit wastes energy. Poor venting can cause dangerous gas buildup, and improper electrical or gas connections can pose serious risks.
Another mistake is neglecting to install a temperature and pressure relief valve, which is essential for preventing excessive pressure buildup. Skipping regular maintenance after installation can also reduce the lifespan of your unit.
Benefits of Professional Installation
Professional water heater installation offers numerous advantages. Certified technicians have the expertise to handle complex connections, ensure proper ventilation, and comply with safety standards. They can also help you select the most energy-efficient model for your home, potentially reducing utility bills.
Additionally, professional installation often comes with warranties and guarantees, giving you peace of mind in case of future issues. Investing in expert services can prevent costly repairs and extend the life of your water heater.
Maintenance Tips After Installation
Once your Emergency Plumber Service is complete, regular maintenance is crucial. Flush the tank annually to remove sediment buildup, check the anode rod to prevent corrosion, and inspect connections for leaks. Adjusting the thermostat to an optimal temperature (usually around 120°F) can improve efficiency and safety.
For tankless systems, periodic descaling is necessary to maintain performance. Scheduling annual inspections with a professional can help identify and resolve issues early.
FAQs
1. How long does water heater installation take?
Typically, installation takes 2 to 4 hours, depending on the type of unit and complexity of the setup.
2. Can I install a water heater myself?
While it’s possible, professional installation is recommended to ensure safety and compliance with local codes.
3. What size water heater do I need?
The size depends on your household’s water usage. A professional can help determine the right capacity.
4. How much does water heater installation cost?
Costs vary based on the type of heater, labor, and additional materials, but generally range from $800 to $3,500.
5. How often should I maintain my water heater?
Annual maintenance is recommended to ensure efficiency and extend the unit’s lifespan.
Conclusion
Water heater installation is more than just setting up a device—it’s about ensuring comfort, safety, and efficiency in your home. By choosing the right system, preparing adequately, and relying on professional expertise, you can enjoy reliable hot water for years to come. Proper installation combined with regular maintenance not only enhances performance but also protects your investment, making it a worthwhile endeavor for any homeowner.