Introduction
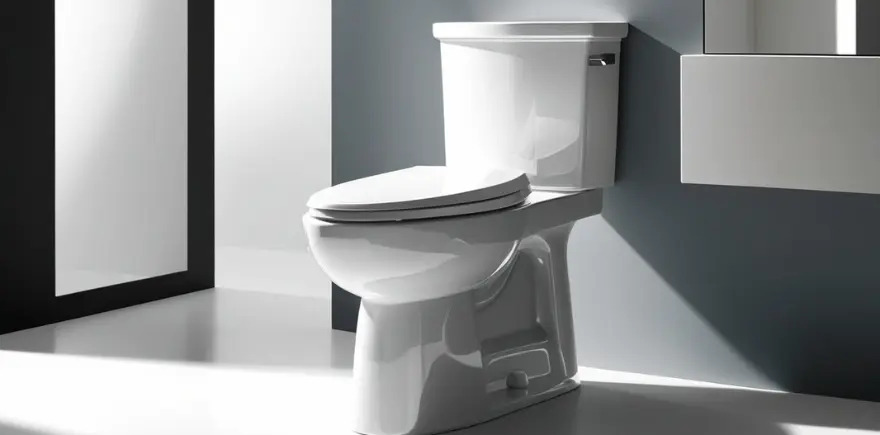
Installing a toilet may seem like a challenging home improvement task, but with the right guidance and a bit of patience, it’s a project that many homeowners can handle themselves. One of the most user-friendly options for DIY toilet installation is the Glacier Bay toilet. Known for its combination of affordability, efficiency, and ease of setup, Glacier Bay toilets are widely available and come with clear instructions—making them an ideal choice for beginners who want to take on this project with confidence.
Whether you’re upgrading an old unit or outfitting a brand-new bathroom, installing a toilet properly ensures long-term performance and prevents plumbing issues like leaks or clogs. This guide will walk you through each step of the installation process, explain what tools you’ll need, and show you how to keep your toilet functioning smoothly long after it’s installed.
Tools and Materials You’ll Need
Before you begin the installation, make sure you have the following tools and supplies ready:
- Adjustable wrench
- Screwdriver
- Wax ring or rubber seal
- Closet bolts and washers
- Toilet flange (if replacing)
- Caulk and caulk gun (optional)
- Level
- Sponge or towel
- Utility knife
- Bucket or bowl to catch water
If you’re installing a Glacier Bay toilet, check the box for included hardware. Many models come with essential parts such as the fill valve, tank bolts, and even a toilet seat.
Step-by-Step Toilet Installation Guide
1. Turn Off the Water Supply and Remove the Old Toilet
Start by turning off the water supply valve located behind or near the base of the toilet. Flush the toilet to empty the tank and bowl, then use a sponge or towel to remove any remaining water. Disconnect the water supply line and unbolt the toilet from the floor. Lift the old toilet and set it aside.
2. Prepare the Flange and Install Closet Bolts
Inspect the toilet flange for damage. If it’s in good condition, clean the area and position new closet bolts into the flange slots. Secure them upright using plastic washers or retainers.
3. Position the Wax Ring or Seal
Place a new wax ring or rubber seal onto the bottom of the toilet bowl outlet. Wax rings are traditional, but some Glacier Bay models may recommend or include alternative rubber gaskets that are easier to handle.
4. Set the Toilet in Place
Carefully lower the new toilet onto the flange, aligning the holes with the closet bolts. Press down evenly to ensure a good seal between the toilet base and the flange. Avoid rocking the toilet, as this could damage the seal.
5. Secure the Toilet to the Floor
Tighten the nuts onto the bolts using your wrench, alternating sides to keep the pressure even. Be cautious not to overtighten, as this could crack the porcelain.
6. Attach the Tank (If Two-Piece) and Connect Water Supply
If you’re installing a two-piece Glacier Bay toilet, position the tank on the bowl and tighten the tank bolts evenly. Reconnect the water supply line, open the shut-off valve, and let the tank fill. Check for leaks around the base and connections.
7. Seal and Test the Installation
Apply caulk around the base for added stability and a clean finish (optional but recommended). Flush the toilet several times to ensure proper operation.
Buy Glacier Bay Toilet Parts Online
Over time, parts like the fill valve, flapper, or flush handle may need replacement. The good news is that Glacier Bay toilet parts are easy to find online, and buying them is often quicker and more convenient than visiting a store.
You can purchase genuine Glacier Bay replacement parts from trusted retailers like The Home Depot or through their websites. Online shopping allows you to match parts by model number, read customer reviews, and access helpful videos or manuals. This can be especially useful if you’re troubleshooting issues like a running toilet or a weak flush.
Stocking a few key parts—like extra flappers, tank bolts, or supply lines—can save time and prevent emergencies. Glacier Bay parts are generally affordable and compatible with a wide range of models, making repairs straightforward and stress-free.
Additional Tips for a Smooth Installation
- Use a level to ensure the toilet is sitting evenly.
- Double-check measurements before buying your toilet—most homes use a 12-inch rough-in.
- Have a helper available to assist with lifting and positioning the toilet.
- Allow sealant to cure if caulking around the base before using the toilet.
- Keep your manual handy in case you need to refer to model-specific instructions.
Conclusion
Installing a toilet doesn’t have to be a daunting task. With some basic tools, preparation, and a reliable product like the Glacier Bay toilet, you can complete the job efficiently and successfully. The process is made even easier with the ability to buy Glacier Bay toilet parts online, ensuring your fixture stays in great shape for years to come. Whether you’re a first-time DIYer or an experienced homeowner, this simple guide empowers you to tackle toilet installation with confidence and ease.
