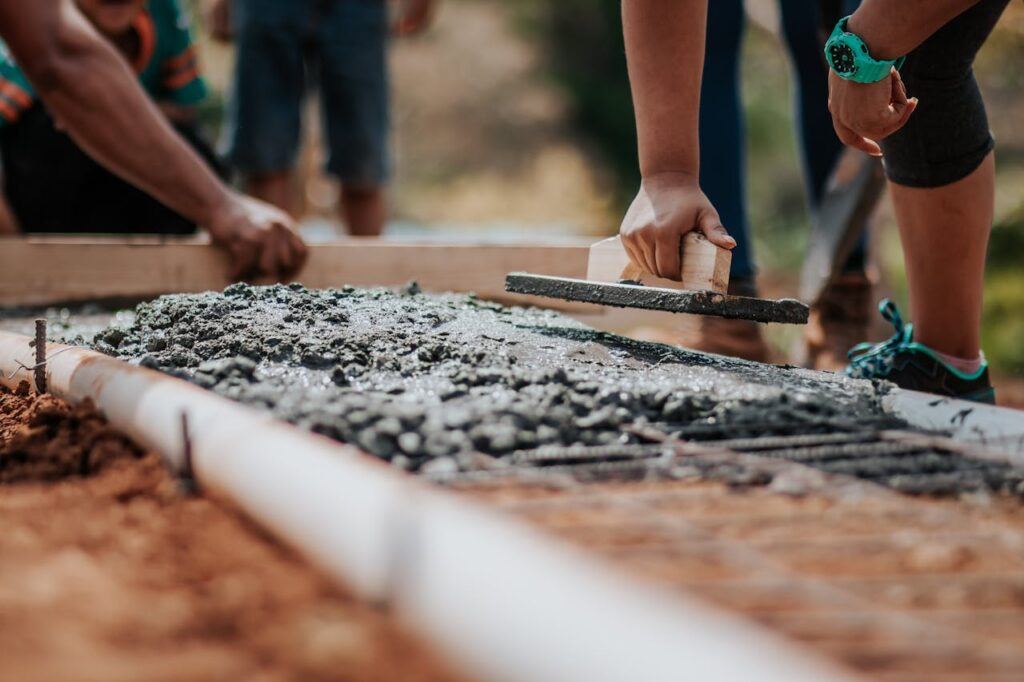
Cracked sidewalks are a common sight across American neighborhoods. They can be unsightly, pose a tripping hazard, and even allow water to seep beneath the concrete, leading to further damage. But fear not, homeowners! fix concrete cracks is a manageable DIY project for most, and Hi-Tech Construction is here to guide you through the process.
This article will equip you with the knowledge and steps needed to tackle those sidewalk imperfections yourself. We’ll cover everything from identifying the severity of the cracks to choosing the right concrete sidewalk repair method and ensuring a long-lasting fix.
Before We Begin: Assessing the Damage
First things first, not all cracks are created equal. Understanding the severity of the crack will determine the appropriate repair method. Here’s a breakdown of different types of cracks:
- Hairline Cracks (Less than ¼ inch wide): These are typically considered cosmetic and pose little structural risk.
- Small Cracks (¼ inch to ½ inch wide): While not a major concern initially, they can widen over time. Early intervention is recommended.
- Medium Cracks (½ inch to 1 inch wide): These pose a tripping hazard and should be addressed promptly.
- Large Cracks (More than 1 inch wide): These cracks can significantly compromise the sidewalk’s structural integrity and require immediate attention.
Safety First: Tools and Preparation
Now that you’ve assessed the damage, let’s gather the necessary tools! Here’s your concrete sidewalk repair toolbox:
- Safety glasses: Crucial for protecting your eyes from dust and debris.
- Work gloves: Protect your hands from scrapes and chemicals.
- Dust mask: Minimize dust inhalation while working.
- Hammer drill: Used for breaking up larger concrete sections (if needed).
- Cold chisel or concrete saw: Used for widening cracks and removing loose concrete.
- Wire brush: Cleans dirt and debris from the crack.
- Garden hose with nozzle: For rinsing the crack after cleaning.
- Level: To ensure the finished patch is level with the surrounding sidewalk.
- Concrete patch mix: Choose a mix suitable for the size and depth of the crack (we’ll discuss this further in the next section).
- Backer rod (optional): Used for larger cracks to provide support and prevent the patch from sinking.
- Caulking gun (optional): Needed for applying flexible sealant to small cracks.
- Masonry trowel: Smooths the patch material after application.
- Sponge (optional): Used for cleaning excess concrete after smoothing.
- Plastic sheet (optional): Protects the surrounding area from concrete splatter.
Choosing the Right Repair Method
The repair method will depend on the severity of the crack. Here’s a breakdown of the options:
- Caulking (Hairline & Small Cracks): For hairline and small cracks, a flexible concrete caulk is the simplest solution. Clean the crack, apply backer rod (optional) for larger cracks, and fill the gap with caulk using a caulking gun. Smooth the caulk with a wet finger or tool.
- Concrete Patching (Small to Medium Cracks):
- Preparation:
- Wear safety gear and clear the area.
- Widen the crack using a hammer drill and cold chisel or concrete saw (if necessary) to create a key for the patch to adhere. Aim for a depth slightly deeper than the crack width and a V-shaped profile.
- Clean the crack thoroughly with a wire brush and hose down to remove debris and dust. Allow the crack to dry completely.
- Patching:
- Follow the manufacturer’s instructions for mixing the concrete patch material.
- (Optional) Use backer rod for larger cracks to prevent the patch from sinking.
- Fill the crack with the patch mix, ensuring it’s slightly higher than the surrounding surface.
- Use a masonry trowel to smooth the patch and level it with the surrounding sidewalk.
- Optionally, dampen a sponge and wipe away any excess concrete for a clean finish.
- Preparation:
- Professional Repair (Large Cracks): Large cracks exceeding 1 inch width often indicate underlying structural issues. In such cases, it’s best to seek help from a professional concrete contractor like Hi-Tech Construction. We have the expertise and equipment to diagnose the problem, recommend the most suitable repair method, and ensure a long-lasting solution.
Prolonging the Life of Your Repaired Sidewalk
Once you’ve patched the cracks, follow these tips to prolong the life of your sidewalk:
- Seal the repaired area: Apply a concrete sealant after the patch
